Old project

IECATA

Yesterday I found an old project I made several years ago.
It’s a IECATA an ide interface for the commodore computers with the iec connector like the VIC20 and C64.
It’s based on a microprocessor and some memory.
The system lets you use the default commands to load and save files to an ide harddisk.

Later some other sites like www.dienstagstreff.de and 8bit.yarek.pl picked up the idea and made new versions of this project.


Happy new year

A Happy New Year to all of you.
Hope you all will have a good 2017.

Last month I collected some new hardware.
I got a 1700 (c128 memory expansion, expanded to 512k), 1571 drive, Multi evolution 500 (a500 SCSI interface with some fast memory) and a surf squirrel (A1200 scsi interface).
And I picked up some old projects.
I will try to keep this site updated with the progress of those projects

Sandisk 4GB arrived from Amazon

This week I received from Amazon a 4Gb Compact Flash card.
When I used this card in the Amiga with a PCMCIA to Compact Flash card converter it worked instantly.

sandisk4gb

The other cards I have (one of them is a 16Gb sandisk) didn’t work.
It looks like the other cards are trying to use another mode to communicate.

Also this week I noticed a new animation from Eric Schwartz:.

Progress on my A1200

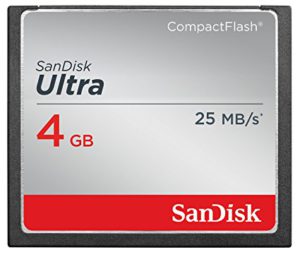
Some weeks ago I received my compact cards and ide adapter.
I installed Workbench 3.0 on one of the Compact disks.
To speed up installation, I used WINUAE on my PC.
The disks connected by USB card reader.

After installing the Workbench I mounted the compact flash with the adapter in the Amiga 1200.
She booted up on first try (And a lot quicker than the original disk).
After this I inserted a PCMCIA to compact flash adapter, but She couldn’t see it.
(cfd and fat95 installed),
So I ordered 2 Sandisk 4GB Compact disks.
I’m still waiting for those to arrive.

sandisk4gb

My colleague got hands on some old PCMCIA cards.
One of these card was a D-link 670, a cnet.device compatible card.

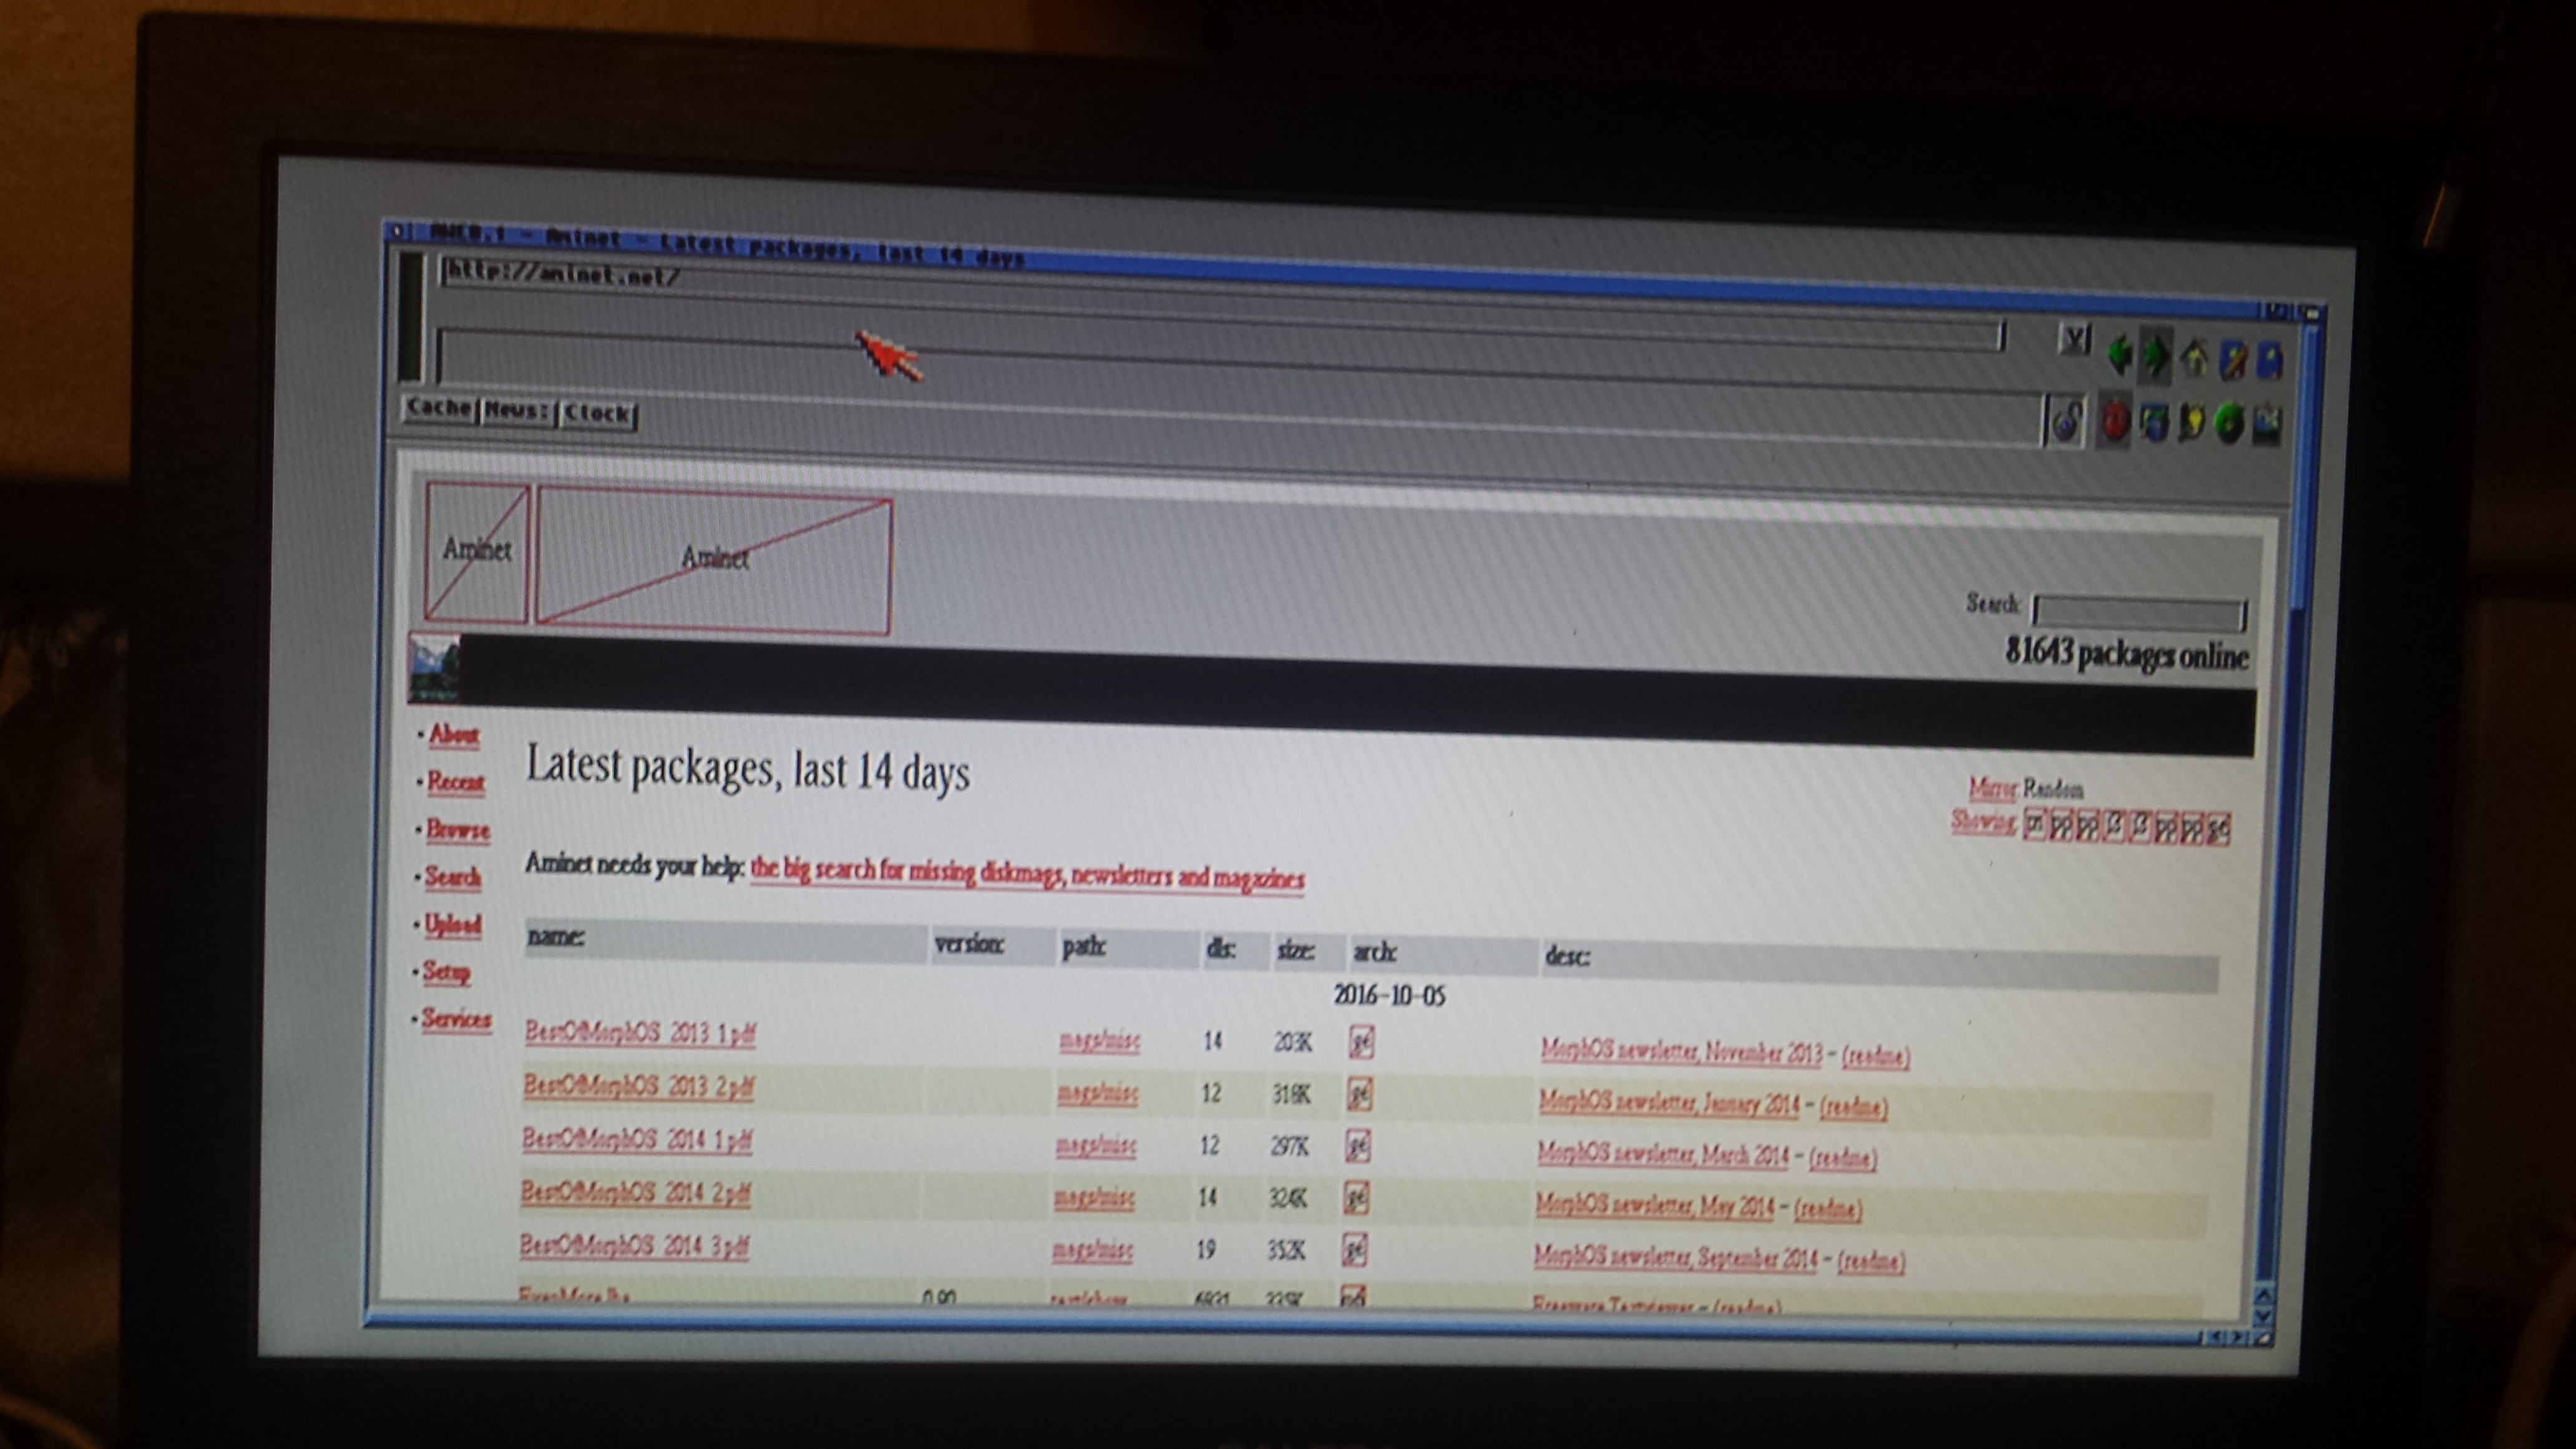
After some work, getting files to the Amiga using crossdos and PC2AM and several tries on configuring MiamiDX (TCP/IP Stack) I manage to get online.

As my Amiga only has 6Mb, lot of sites are not able to load, but aminet was no problem.

20161006_210546
next:
-getting compact flash working with the PCMCIA for easy file transfer
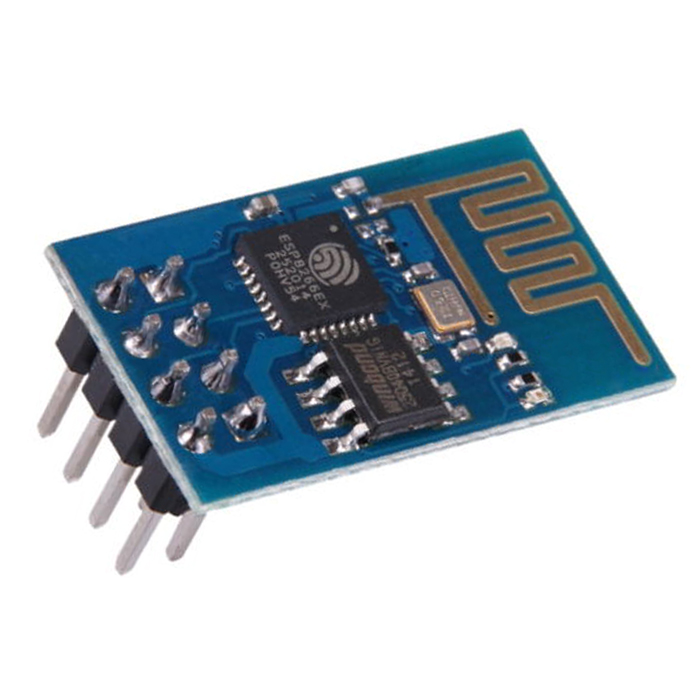
-Getting 2 16Mb GVP SIMMS (if price is not to high), Or wait for vampire 1200


Added a A1200 to my collection

18 August I bought an Amiga 1200, my fist 1200 I ever owned.
I had the choice to get a nice white Amiga Technology A1200 or a yellowish Commodore A1200.
I choose the yellowish A1200 as the internal HD was still running and the board doesn’t have the Escom drive fix (making the drive incompatible with some demo/games)
The Amiga also contained a GVP 1230 (Jaws) 68030 board with 4mb memory and another 4mb 68020 (Blizzard 1220) card.

The Amiga was used until 2006 by a local broadcast company in Tilburg.

A1200 (Image not of mine A1200)
A1200 (Image not of the A1200 I bought )


A little update

A little update, Last 2 months I was busy adding pages to the data sheet part of the site.
And changed the way I wanted to control my commodore SX64 (and later on my compucase and Amiga).
My first Idea was to control the Kernal selections and drives id by a little FPGA, but it the FPGA I have didn’t like to have that much flipflops (memory for storing configuration).
So I had to go for a bigger FPGA or move to another way.

The other way presented it self to me 3 months ago, when I learned about the ESP8266 ESP8266devices.
A ESP8266 Device is a cheap (2-3 Euro) module that contains a CPU, WIFI controller and webserver.
With some simple code, I turned it into an Access Point that has a website that is controlling the kernal selection and drive id.
The communication between the ESP8266 and the I/O chip (PCF8574) is done by I2C.
The circuit also contains a I2C EEPROM to store settings.

Last night I built the circuit on a circuit boards and hope to do some test real soon.
I still need to build the I/O part that selects the drive ID and drive ROMs.
Also I need to program the ROMs with the various Kernals and drive firmwares.

Battery damage part 2

Yesterday I finished the cleaning of my Amiga 500+.

Cut out chips (and still some corrosion)
20160424_211650
Chip pins removed
20160424_220031
Gary socket removed

Last week I removed the battery and neutralize the acid from the battery with lemon juice.
This time I Removed the 7400 series chips that are in the affected area so I can also clean the circuit board below the chips.
After removing the chips I still see some corrosion, so I cleaned it with a toothbrush.
When I finished cleaning, I placed some sockets and placed some new chips back.
When done with the chips, I pull the Gary from her socket and start removing the old corroded socket.
When removed, I again clean the circuit board with a toothbrush and place a new socket.
I Didn’t had a 44pin socket so I used a 40 pin socket and cut a part of another socket for the remaining pins.
After reseating the Gary I reassembled the Amiga and powered her up.
The 2.o Kickstart welcome screen is shown on my TV ( in color 🙂 )

20160424_221559
Gary back in her “new” socket

While doing some more testing, I found out that I couldn’t type “dir”.
the R key did not respond. after a quick test I found that the keyboard was not responding on two columns, the column with the R and the column with the T key.
So next mission for this Amiga is to check the keyboard and repair/replace it.

To be continued

Starting to clean battery damage on my Amiga 500+

corrosion on the battery

A big problem that old computer systems have is leaking batteries.
The acid that gets free causes the copper conductors to corrode and when nothing is done the computer will stop working.

So yesterday I started to clean the damage caused by the leaking battery on my Amiga 500+.

First I opened my Amiga and completely disassembled it.
While doing this, I noted how the floppy drive power is connected.
Connecting it the wrong way will damage the drive beyond repair.

20160419_215557When the mainboard was out, I cut out the battery and then I cleaned all green corroded parts with concentraded lemon juice to neutralize the acid from the battery.
I then used a tooth brush to clean the affected parts and afterwards I dried the board and use pure alcohol to clean the part that I cleaned.

20160419_215431I still havened tested if she still works as I wanted to be sure that the mainboard is dried up.

Next step will be replacing the 7400 series chips that are corroded as I want to be sure that all corrosion is gone.

The Dutch Commodore club

11752516_1601539396774226_4417826226983868130_n
This Saturday I went to the Dutch Commodore club in Maarsen.
It was about 6 years ago that I visited the club for a very short visit.
I met a lot of people with the same interest as me, and had several good conversations.
On the club I noticed that Gideon (the creator of the 1541 Ultimate) was there with the prototype of the new 1541 Ultimate II+.
and a very interesting kernal selector based on a Atmel cpld chip.
The Commodore club is a place where other 8-bit computers like Atari and TRS-80.
If you are in the Netherlands on the third Saturday in the neighborhood of Maarsen (near Utrecht), it will be worth visiting their meeting.
See their website for pictures of the meeting and meeting dates at:
https://www.facebook.com/commodoreclubnederland or