XUM1541

This weekend, I created a XUM1541 interface base on an Arduino ProMicro board.
The interface allows me to talk to a commodore drive on my (32-bit windows) PC.

CBMXfer screenshot
CBMXfer screenshot

Now I’m able to quickly copy files over from my pc to floppy without having to use my 1541 Ultimate-II.

See the page on my site on how to build the Interface.


A little update

A little update on what I’m doing last weeks.
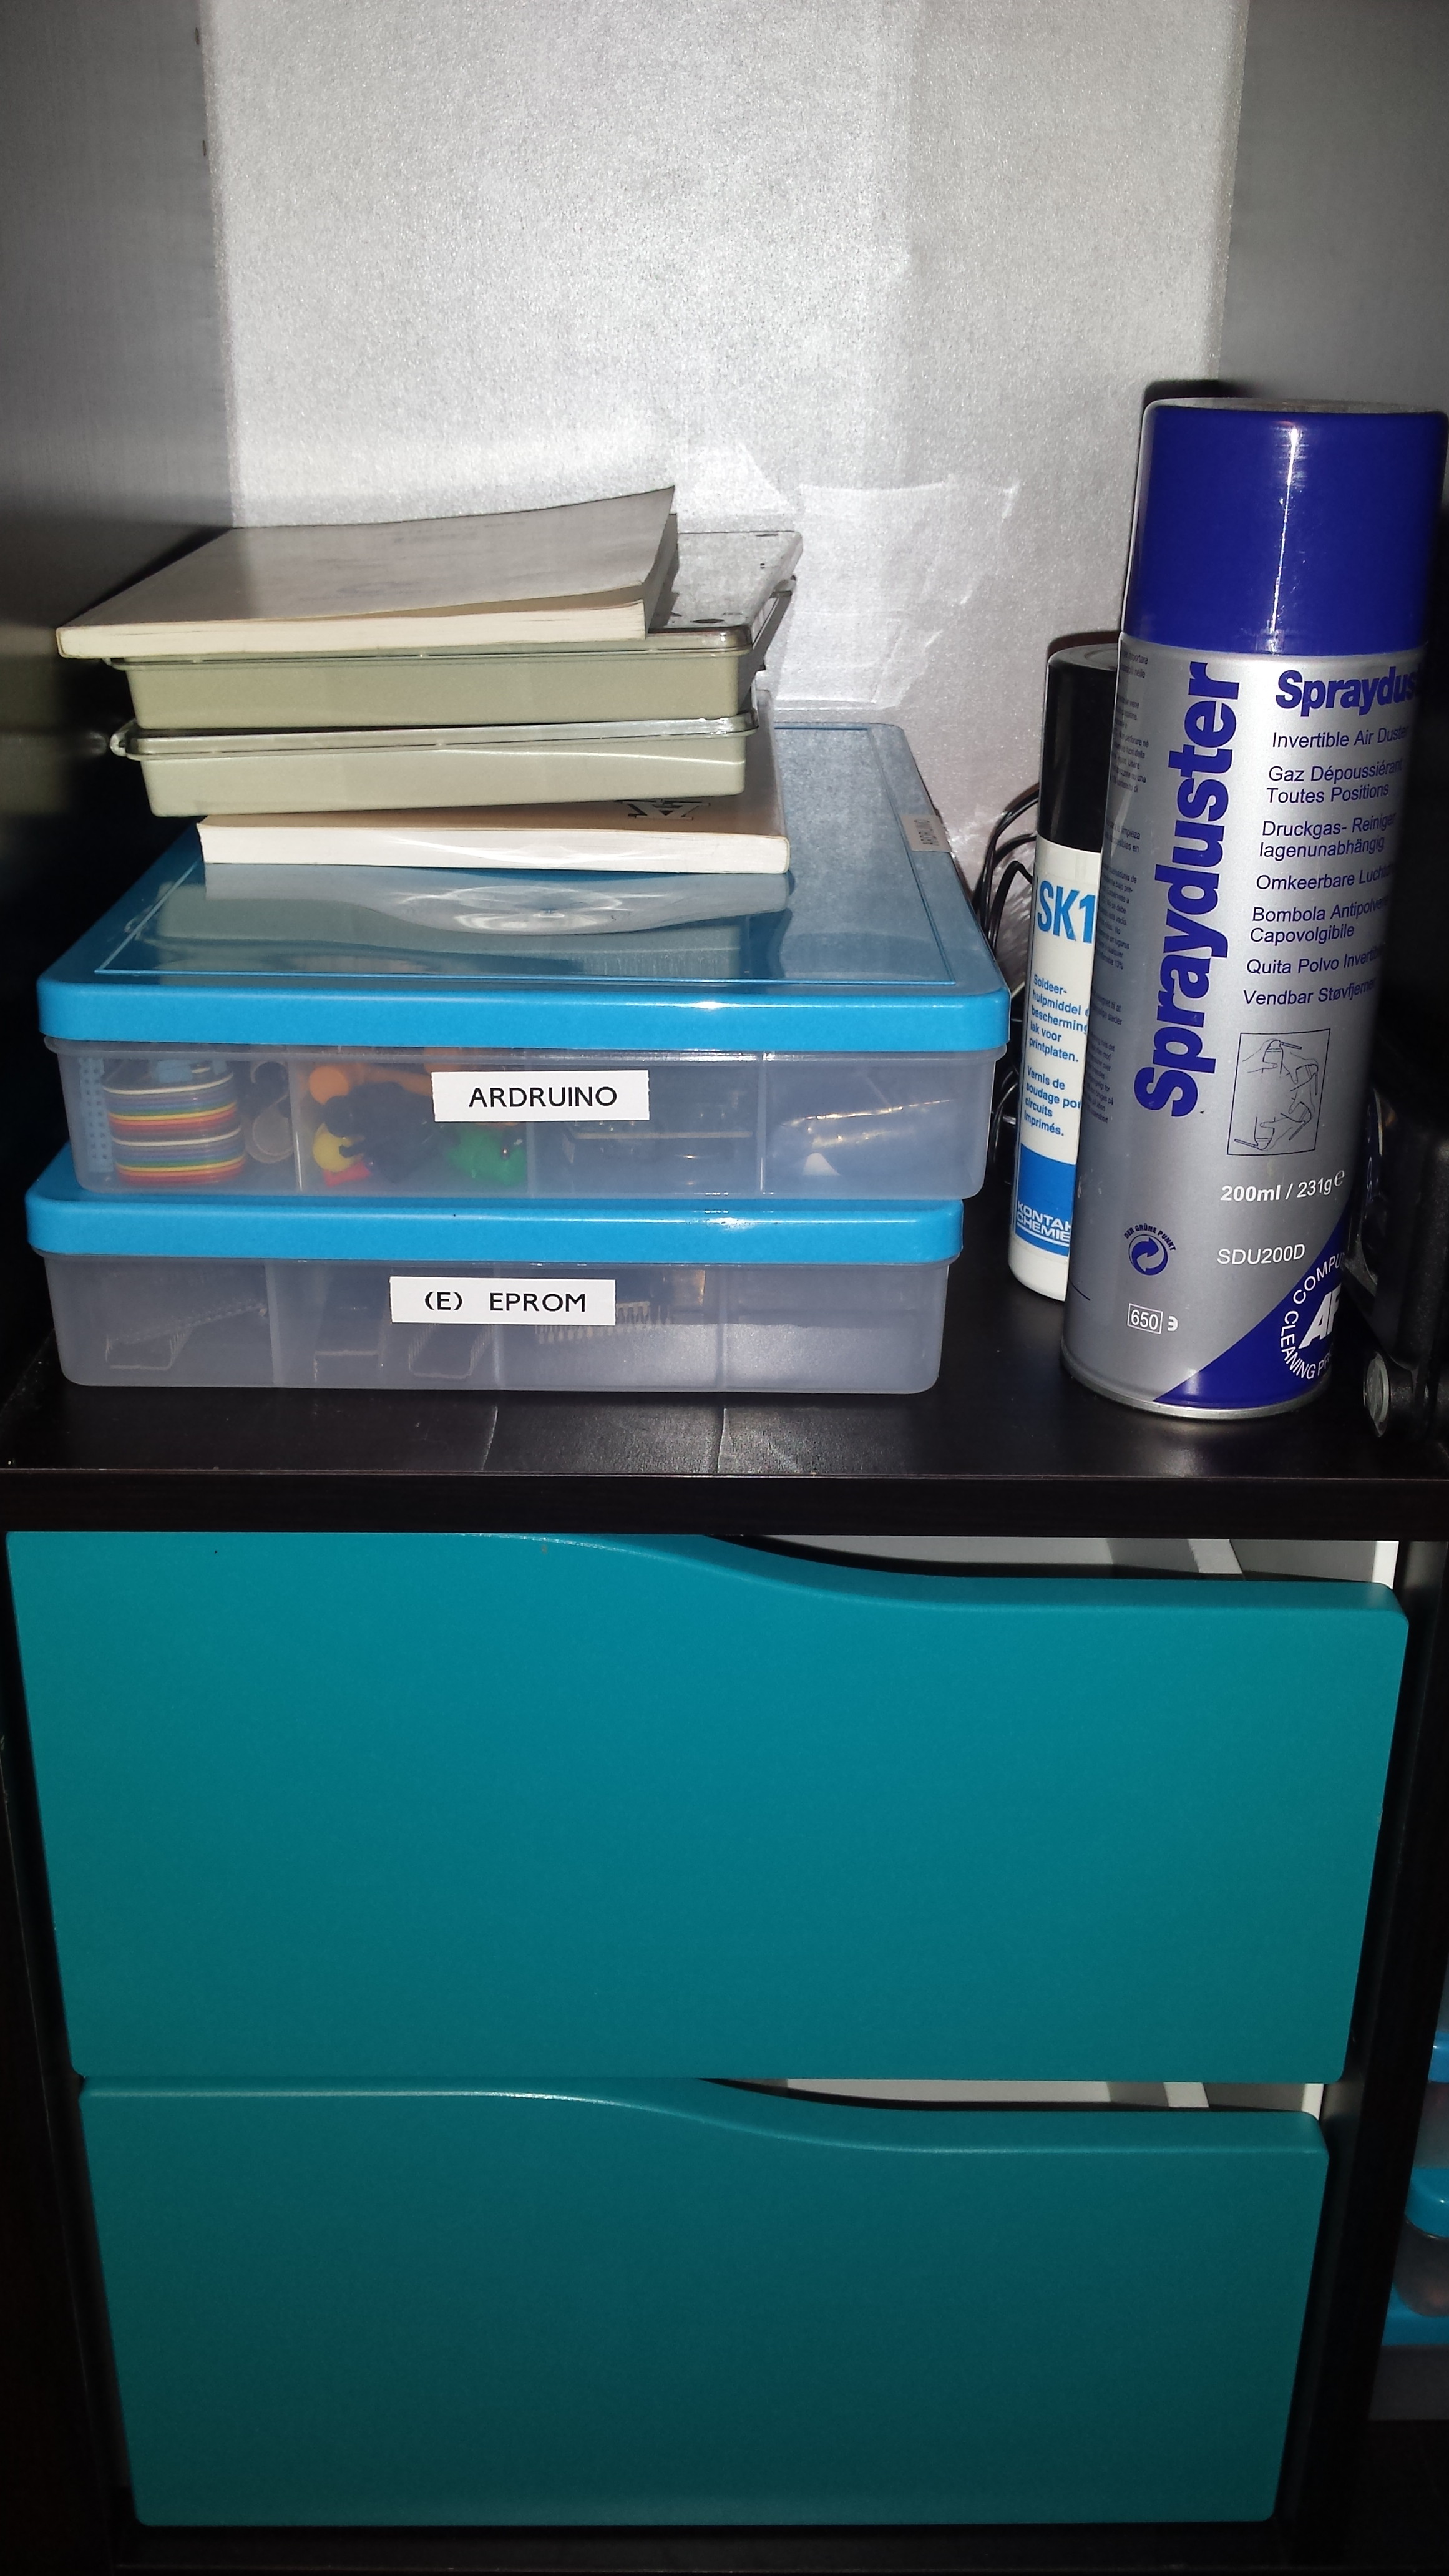
Last weekend I bought 2 pair of new drawers for in my IKEA EXPEDIT cupboard.
(Actually the drawers are part of the IKEA KALLAX series but can also be used in the former EXPEDIT series.)
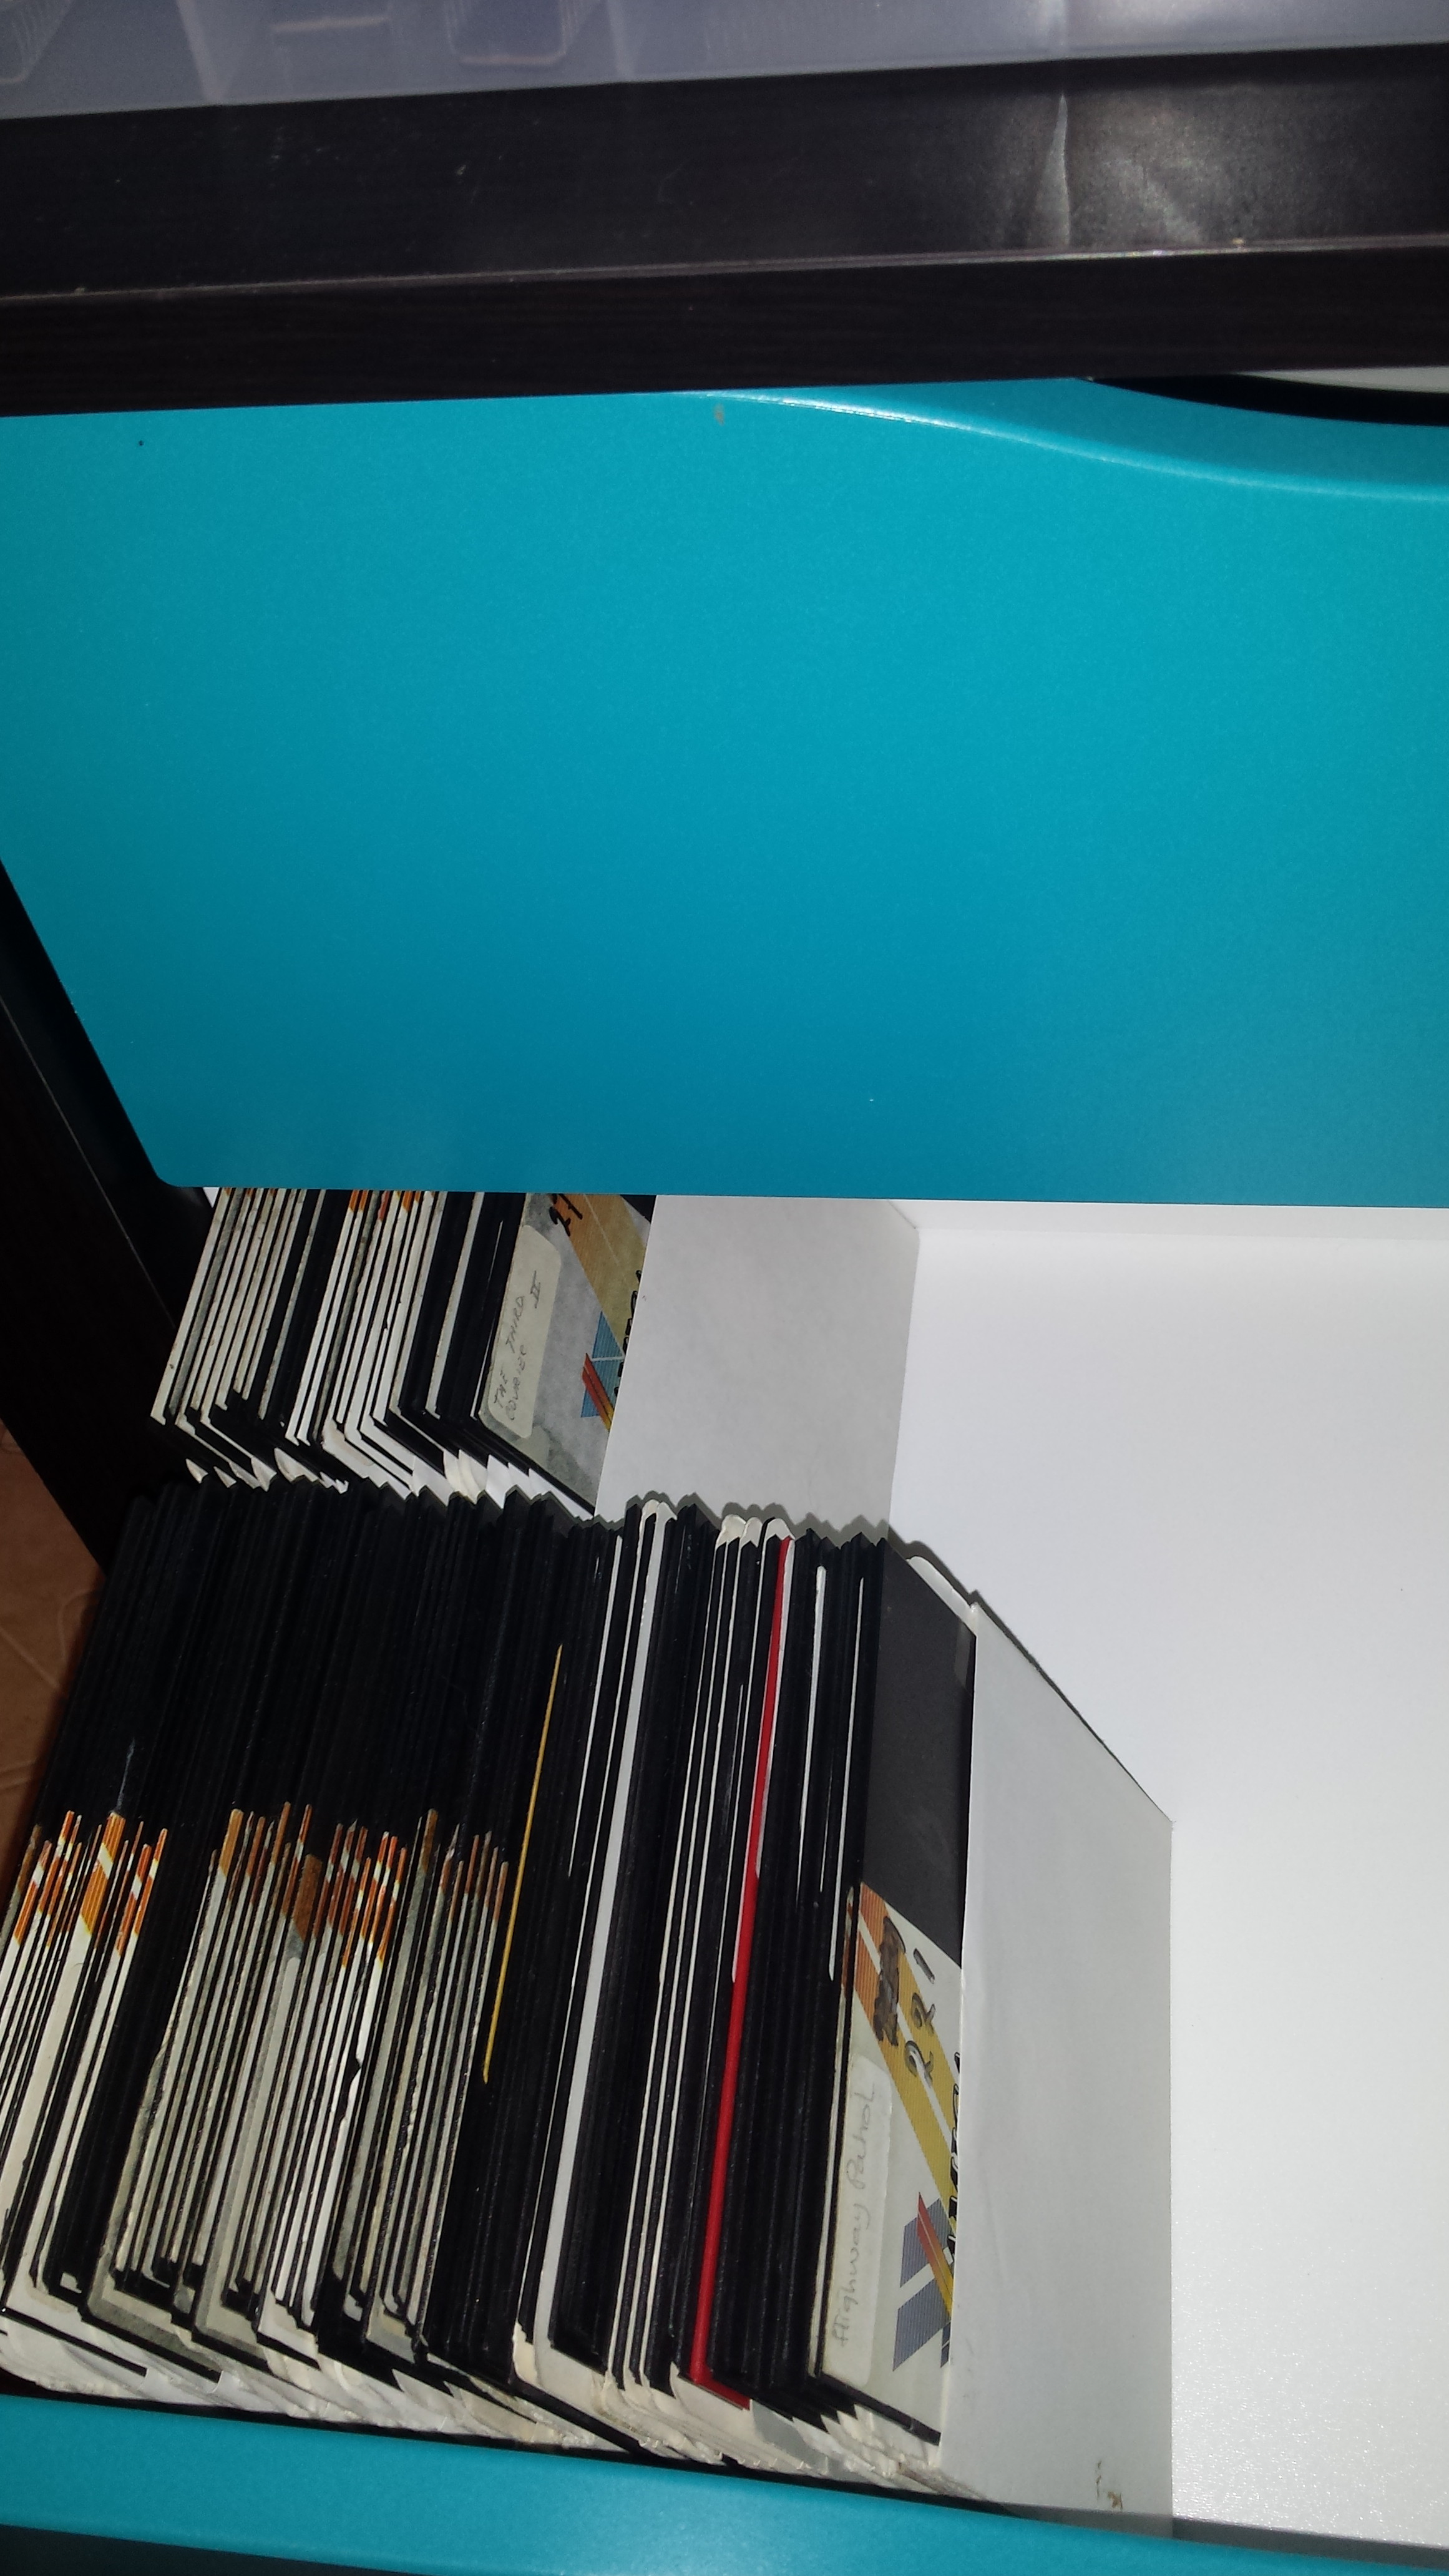
I’m decorating my attic into a hobby space and needed some storage for my 5,25″ discs and couldn’t find any disc boxes that were in good condition and similar to each other.
20160210_200650 20160210_200709
Beside decorating my attic I also created two kernal switches.
One of the two are for my Commodore 128 and the other is for someone of the Dutch Commodore forum.
I still need to add the part for the integral disc and I have to find out why some changes I created on the kernal  won’t work.
20160207_002701
The changes I made worked in the vice emulator, but won’t in the real thing.
I changed the way the C= key worked while starting up (hold the C= to go into C128 mode instead the other way around).

Wrong LCD

I was building a list of LCD monitors that were able display the 15 kHz images by searching on the internet.
I wanted to place the list on my website, but last week I bought a LCD monitor that should support the 15 kHz.
After testing it at home, I got the message that it did not support the frequency.
The monitor I bought was a Samsung Syncmaster 710N.

So I decided that I won’t publish the list.

syncmaster-710n-21


New parts arrive

Yesterday some new parts arrived.
The mail man brought me a package with an internal 1571 drive and big power/drive activity led from a Commodore 128 D.
With this drive I can restore one of my Commodore 128 D computers that is missing the metal shields from the drive interface and the drive led.

Internal drive Commodore 128 and big leds

Happy new year.

I wish everyone a happy 2016.
may you all enjoy another year in good health and lots of (computer) fun.

Last couple of weeks I was busy celebrating Christmas and did some researching, mainly autoconfig/autoboot rom of the Amiga Zorro II expansion port.
I also almost bought a A590 Hard disk controller, but the day I was going to get it, the guy sold it to someone else.
So if you have one for sale, please let me know.
I was already thinking of upgrading it (GURU rom, DMAC version 2).

I was also busy with my kernal switch project for my Compucase D64 and SX64, it will contain a xc9572xl that can be controlled by writing values to a certain memory location.
And maybe you already seen it, but I also added some info on mainboards.

Jeroen.


Amiga VGA Cable (with GBS8200)

I don’t own a monitor for my Amiga, so I wanted to connect her to a VGA (lcd) monitor/TV.
I tried several way to get this done, but so far I didn’t got it to work.
Only the composite output of the Amiga was working, but I wanted to have a color image.
So I tried a Amiga to scart cable, but my TV didn’t accept the signal.
Next I tried a Amiga to VGA cable, but this also didn’t work (none of my LCD monitors accepts a 15 kHz video signal.
I looked for another lcd, but I couldn’t find one, so I ordered a GBS8200 video converter on ebay and created a simple Amiga to VGA cable that I could hook up to the GBS8200, The GBS8200 then is connected to a VGA monitor.
20151126_003226
For the cable I took an old VGA cable and cut it in halve.
Then I connected the R,G,B,C-sync and GNG to the 23-pin Amiga video connector.
gbs8200_1
This gave me a reasonable image on my lcd monitor.
Only I had some random white pixels on my screen.
I found on the internet that this had to do with the speed of the dram chip used on the GBS8200.
Maybe I will fix it later, but for now I’m happy.


Smoking Amiga fixed

Today I fixed the Amiga that was smoking.
Last week al parts arrived so I could fix her.
The capacitors are for a higher voltage and therefore a little bigger that the ones I removed.
20151119_222803
After fixing I turned on the Amiga and she gave the kickstart boot image again.
In the top of the picture you can see the connector of my Amiga to scart cable.
But my TV is not accepting this input so I’m still stuck with a gray scale image on my TV.

I also received a GBS8200 board last week, so I can start building another Amiga -> GBS8200 -> VGA adapter.
I will create a post about this, when done


Trouble shooting the smoking Amiga

While she is older than 18 years old, she is not allowed to smoke 🙂 .
So I started to look for the reason why she did.

First I measured the resistance between the resistor that smoked (R406) and ground.
It was only 0.2 Ohm, A little to low.
So I checked the schematics and noticed that the capacitor C401 and C402 are also in the circuit.
As Capacitors die after some time, I removed them from the circuit board.
When I checked the capacitor C401 it only measured 0.2 Ohm, while C402 was somewhere in the mega Ohm.
20151008_202827

So I found the reason why R406 was smoking.
I’m now waiting the ordered capacitor and resistor.